Helpful Hints for Creating Linocut Prints With Kids
So let me first preface this by saying:
I am not an artist!
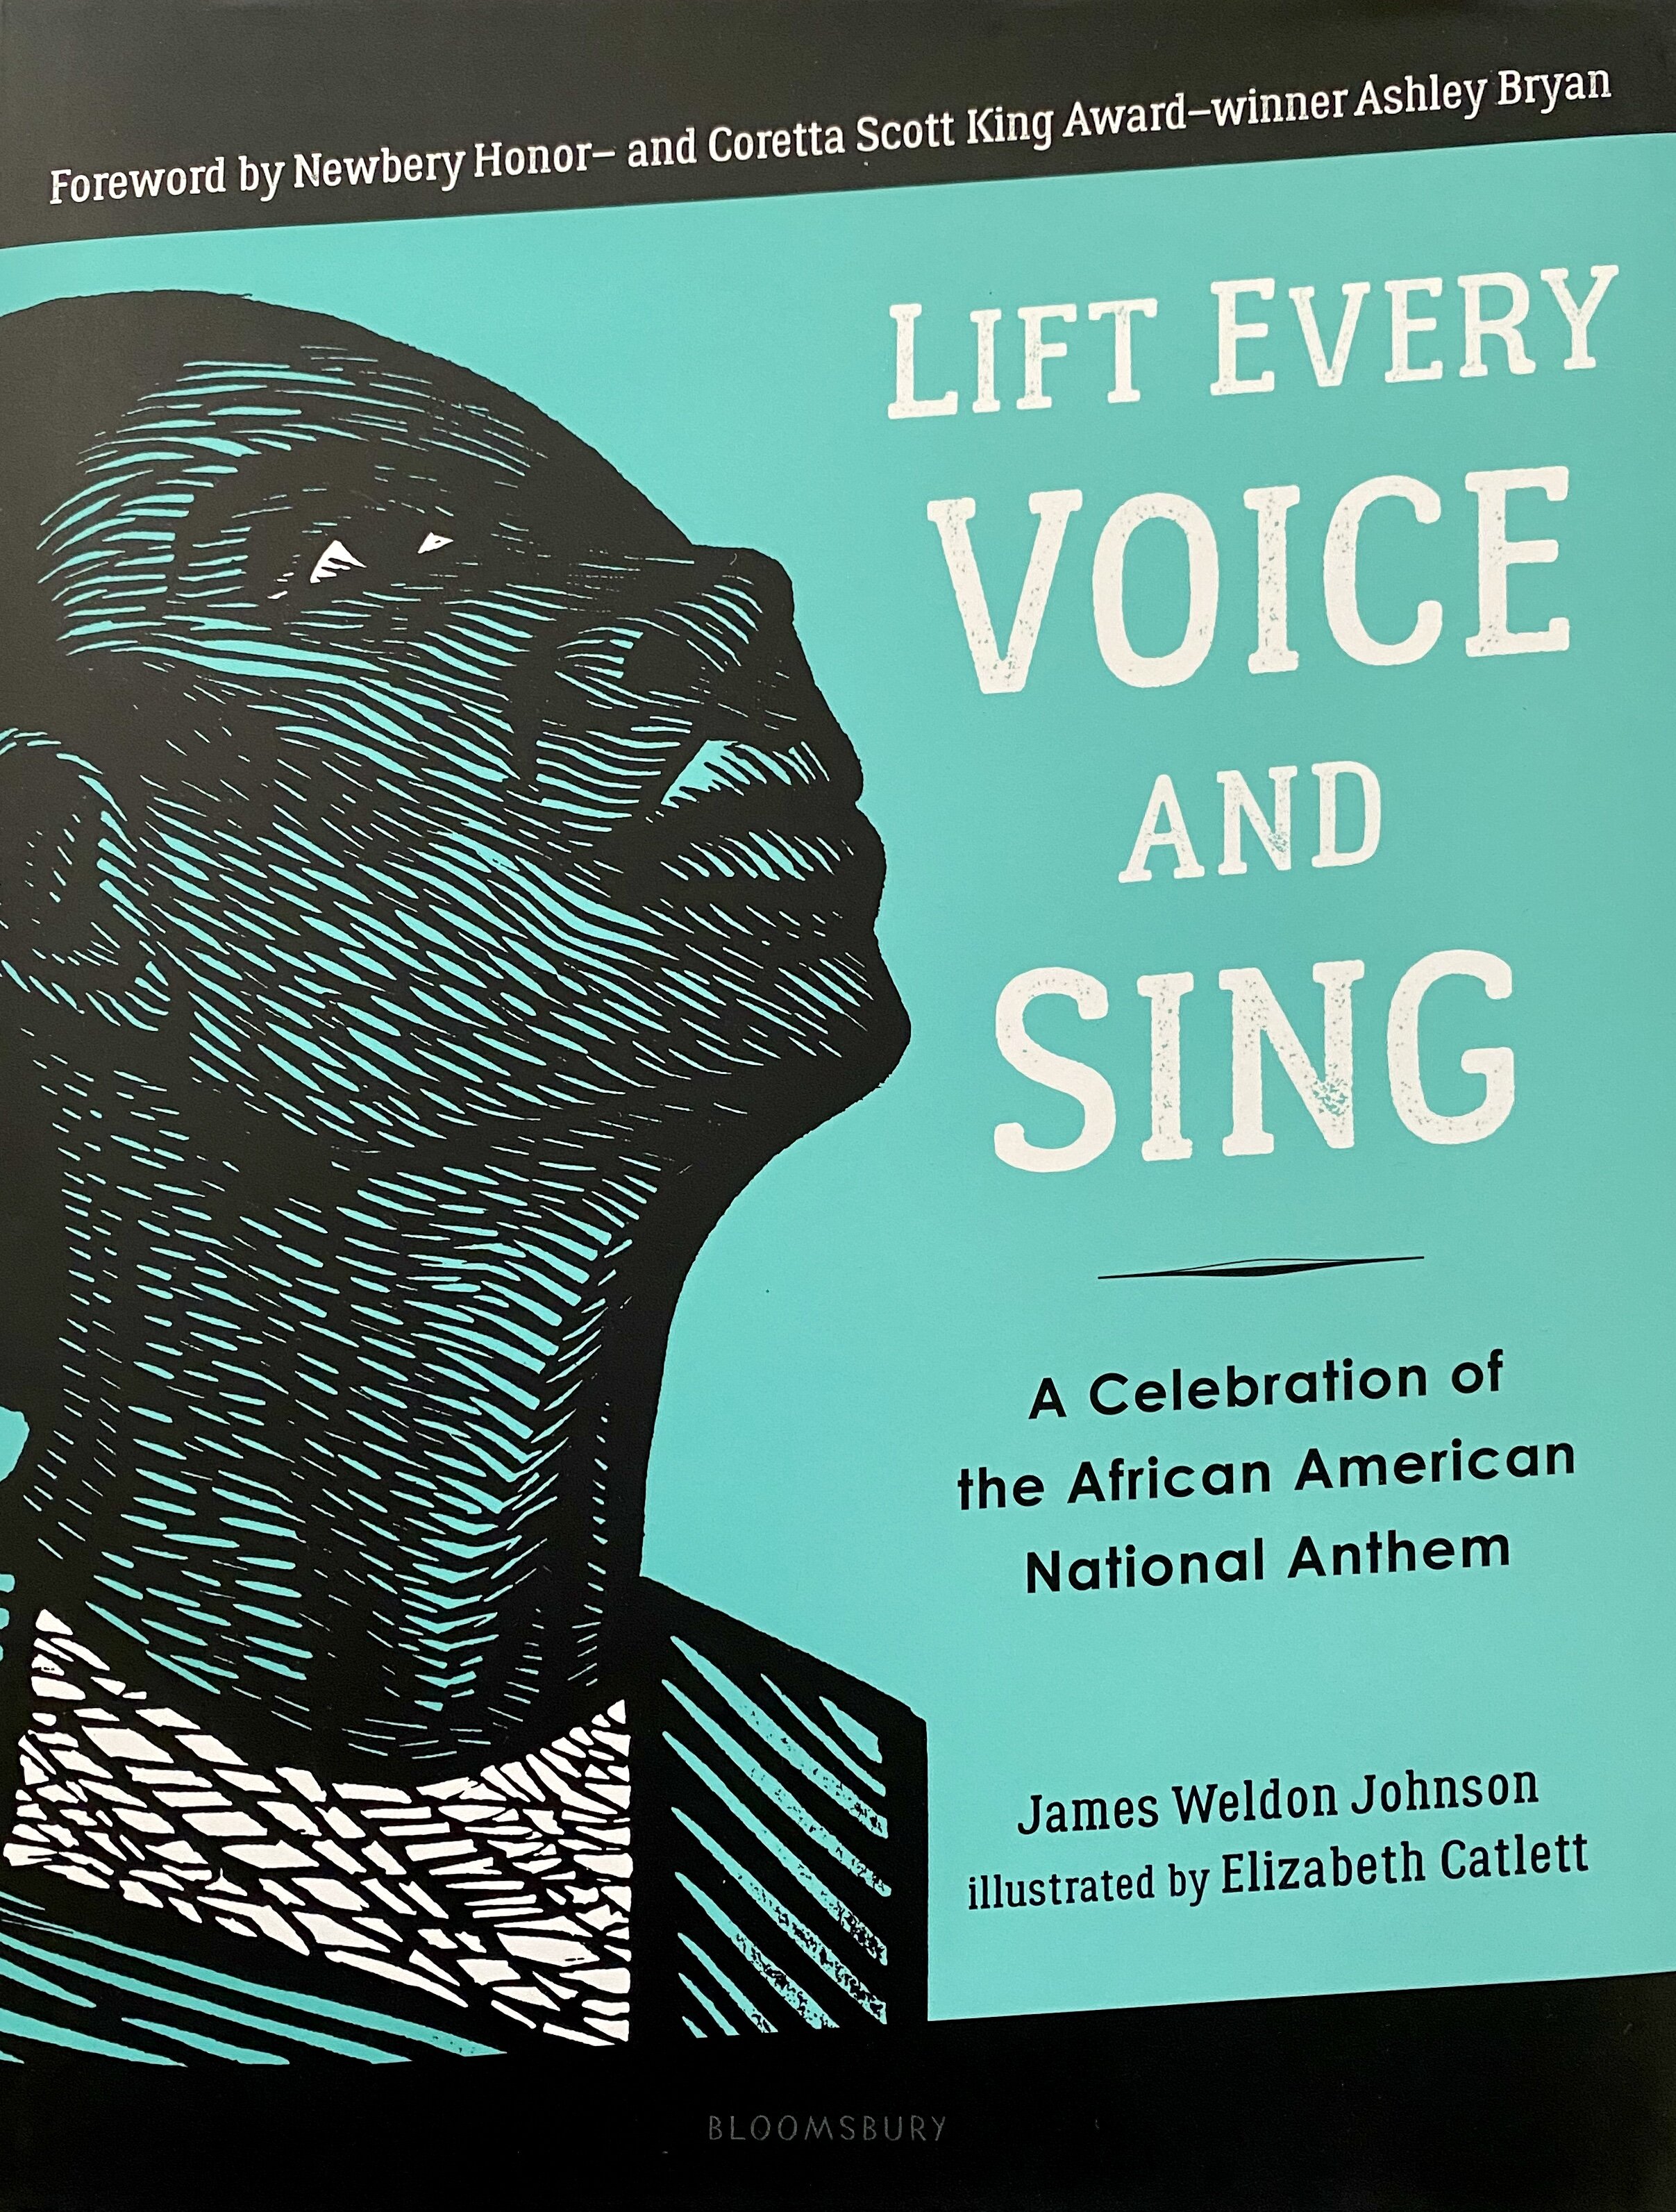
Like not at all BUT when I put together this Black History Month themed box and made the decision to include Lift Every Voice and Sing with illustrations by Elizabeth Catlett, I knew I wanted this art form to be a part of the experience. So, here are a few things I learned along the way as I completed this project with my kiddos.


BE CAREFUL! This may seem obvious, but seriously be careful. The carving tools look innocent enough but they can be sharp. If you are not using the proper technique it is really easy to cut your hand. Never place your hands in the direct path of the carving tool. Grownups, you can always prep the lino block for your little one(s)!
DON’T DIG. GLIDE. Keep your carving tool nearly level with the linoleum block. The closer to vertical you are the harder it will be to carve (and the more likely the tool is to jerk loose and cause potential injury). When the tool is flat, carving is very smooth and easy-going. Also, you can create artwork on both sides of your linoleum block when your carvings are shallow.
DON’T GET TURNED AROUND! If you sketch your design directly onto your lino block then when you transfer it, the image will appear backwards. This is usually only an issue if you choose to carve text into your block. You can also draw your design onto a piece of paper first. I’ll outline these steps below.
A LITTLE PAINT GOES A LONG WAY. You don’t want paint in the grooves that you have carved away so use a small amount of paint and don’t push down too hard while rolling the paint onto your carving.
Okay, now that you have some pointers, here are the steps you’ll want to take to make your print!

You’ll need: paper, linoleum (lino) block, pen or pencil, carving tool, ink or paint, brayer (paint roller) and colored pencils (optional)
Draw your design in pencil on your linoleum block.
If you are including letters or symbols, start by creating your artwork on a piece of paper. Use a dark pencil or pen to go over the lines a few times. Then place your linoleum block onto the paper and press down firmly to transfer the lead/ink to the block.
Use a carving tool to carve out your design. Be careful!
Gently roll a thin layer of paint onto your lino block.
Place a piece of paper on top of the painted block and press down evenly to transfer the paint to the paper.
Carefully lift away the paper to reveal your artwork!
Let the paint dry, then experiment by coloring your print with crayons, colored pencils or even watercolor paint!
We watched this video by author/illustrator Katie Terrell Ramos whose book
EGBDF The Musical Yak is being considered for an upcoming box!
And there you have it! With all the materials involved, this project can seem rather intimidating to the non-artist like myself, but you and your kids can create simple, fun designs that everyone will be proud of!


Click on each image to enlarge.
